Worm Wrangling: Vermicomposting on My Little Farm in Town
Friday, October 29, 2010
I had a worm roundup a couple days ago on the sunny south side of the house before all this blustery weather blew in. I had two worm composters that needed attention before winter. I needed to empty both boxes, rebed one, and transfer my population of squirmies to their winter “digs.” (Get it? Worms, Digs. . . sigh.)
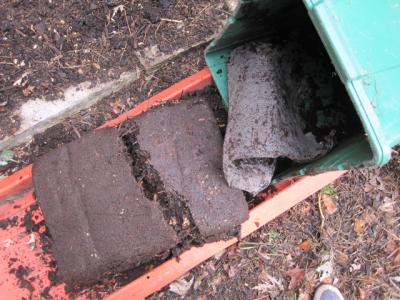
Worm castings are the real black gold. I dumped the bins into the big red sled that I use to haul all manner of stuff around the yard. Then I drew up a lawn chair and began separating worms and their cocoons from finished worm compost. (This wasn’t as hard as it sounds because most of the worms were in one layer of the box.) I dropped the worms and cocoons into a tray with some cover for them to hide in—worms hate light. I eventually put the remaining worms in the newly bedded box. I dumped most of the contents of my vermicomposting boxes on the bed that will be covered by my newest cold frame, where I will plant next spring’s greens in March.
I learned about worm composting over 15 years ago when I read the now classic, Worms Eat My Garbage by Mary Appelhof. I didn’t get around to actually doing it until after we moved back to Wisconsin from Iowa in 1993. I’ve been vermicomposting for about 10 years.
Vermicomposter—such a fancy word for a plastic box drilled with holes (one of my worm composters is a retired recycling bin) filled with leaves, chicken yard hay, and vegetable kitchen scraps with a piece of junk window screen in the bottom to keep the worms from escaping! Boxes and worm beds can take many forms, but the most important thing is that you have a container with good drainage to hold the worms and their bedding and food. The bedding shouldn’t be too wet. It should be about the dampness of wrung out sponge. You can use shredded corrugated cardboard, black-and-white newspaper (don’t use bleached paper or colored newsprint—it poisons the livestock) and some dirt or peat, old hay, chopped up grass clippings and leaves, or some combination of all of the above about 8-10 inches deep.
The worms—buy red worms mail order when the weather isn’t freezing or from a bait shop. I bought two tubs of red wiggler bait worms to “seed” my latest box. This worm’s Latin name is Eisenia foetida. I tell you this because this worm has a lot of different common names. You want to be sure to get the kind of worm that lives in the top 6 or 8 inches of litter not something that requires a permanent burrow like the night crawler (Lumbricus terrestis) or garden worm (Allolobophora of various types). You can find ads selling redworms in the back of outdoors magazines or on the web. You also might get a couple handfuls from someone who already composts with worms and is feeling charitable.
Worm chow—kitchen and garden scraps, coffee grounds including the paper filter, tea bags, and crunched up egg shell are all good food for worms. Don’t try to feed them any fat, oil, or meat—this stuff just stinks and attracts pests. I pull back a few inches of bedding and add food and then cover it again so my worms can dine in the dark as they prefer.
Location, Location—worm boxes are best located in a shaded area sheltered from the weather. You don’t want the sun frying them or the rain drowning them. I bring my worms into my semiheated garage as soon as the nighttime temps start to fall into the low 50sF. I bring them into the basement when my garage temperatures fall into the 40s and high 30sF. (I’ve even heard of people keeping a worm box under the kitchen sink, which I’d be tempted to do if I had enough room under there!) I’ve never had a problem with smell. Every once in a while I might get a few fruit flies if I don’t bury the scraps deep enough in the box. By the end of the winter, I sometimes have to start a new box because the worms have reproduced so well in this ideal environment!
You probably have everything you need around the house to make and bed a vermicomposter right now. Add a double handful of redworms, and you’ll be a worm wrangler, too! Begonia
2 Comments
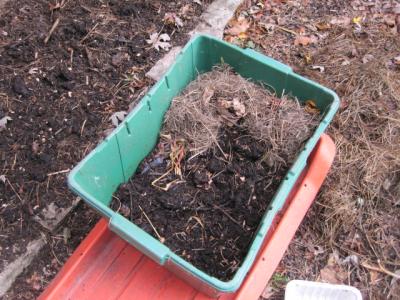
Worm Box Ready to Be Emptied
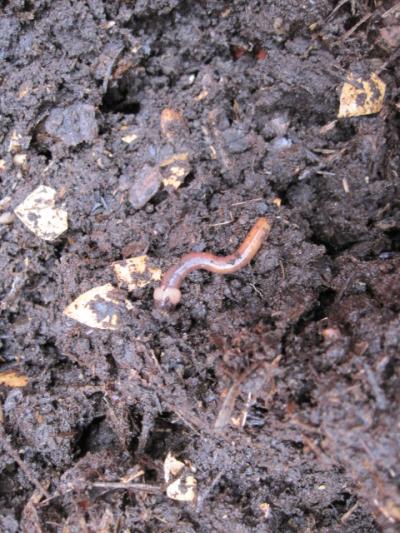
Worm in Finished Compost
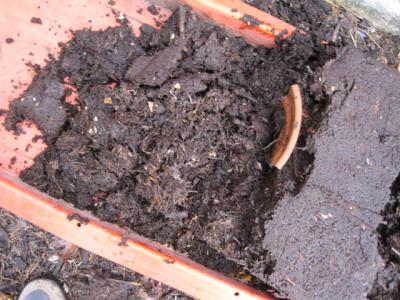
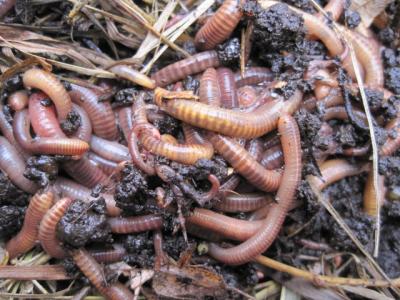
Worms and Cocoons
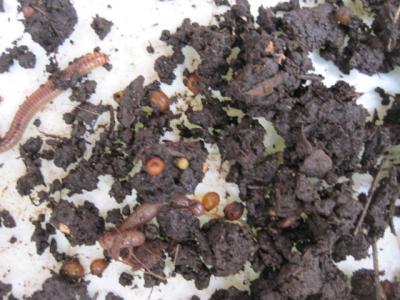
There are a number of ways to separate the worms from the finished product. Since I vermicompost on such a small scale, I prefer to handpick, saving all the eggs and worms I can to start over in a freshly bedded bin. For other ways to separate worms from their castings, read Worms Eat My Garbage.
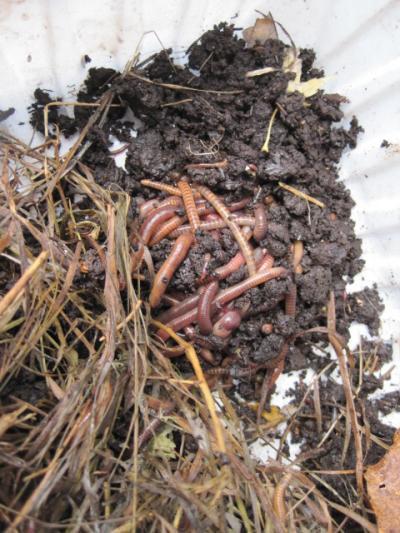
Here are all the worms I picked out of the box. The population was bigger earlier in the year. These are the hardy survivors of too much rain. It is important to be sure the drainage holes don't get clogged!
Newly Bedded Worm Box
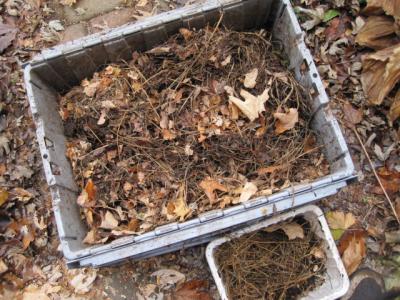
I've used chicken yard straw and leaves to bed this box. If I were making up a box in the winter, I would use shredded black-and-white newspaper, peat, and enough water to moisten it all.
The Worms' First Meal in Their New Home
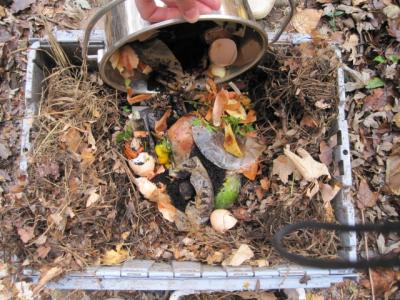
Everybody needs to eat! I pulled the top layer of bedding to the side and spread the contents of the compost bucket out, then covered it again. (I did mention crunching up the egg shells. I left them whole in this case because I've noticed that the young worms like to congregate in them.)
Ball O' Worms
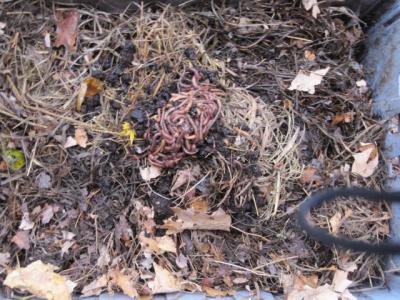
Worms naturally ball up when you gather them--maybe for warmth, maybe for comfort--only they know for sure.They quickly seek the darkness of the new bedding.
Indoors for the Winter
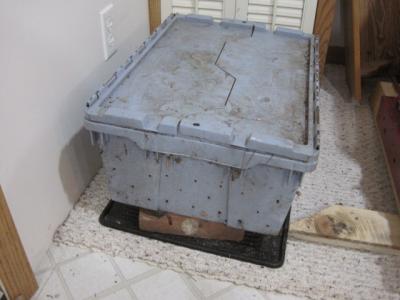
I bring my worms indoors each winter. They are expensive and worth wintering over. With good feeding, I will be able to start a second bin right away in the spring. They are also another way of actively composting through the winter.
|